Shadcn Registry: A Better Way to Manage Your UI Components
Introduction
The shadcn registry enables you to create and manage custom component registries, making it easier to distribute components, hooks, pages, and other files across multiple React projects.
This blog post won’t be a step-by-step guide on setting up the registry, there’s already a solid one by the goat 🐐 himself. Instead, consider this a complementary resource, diving into some lesser-known CLI options and insights I picked up while setting it up.
Bird’s-eye view of the shadcn registry
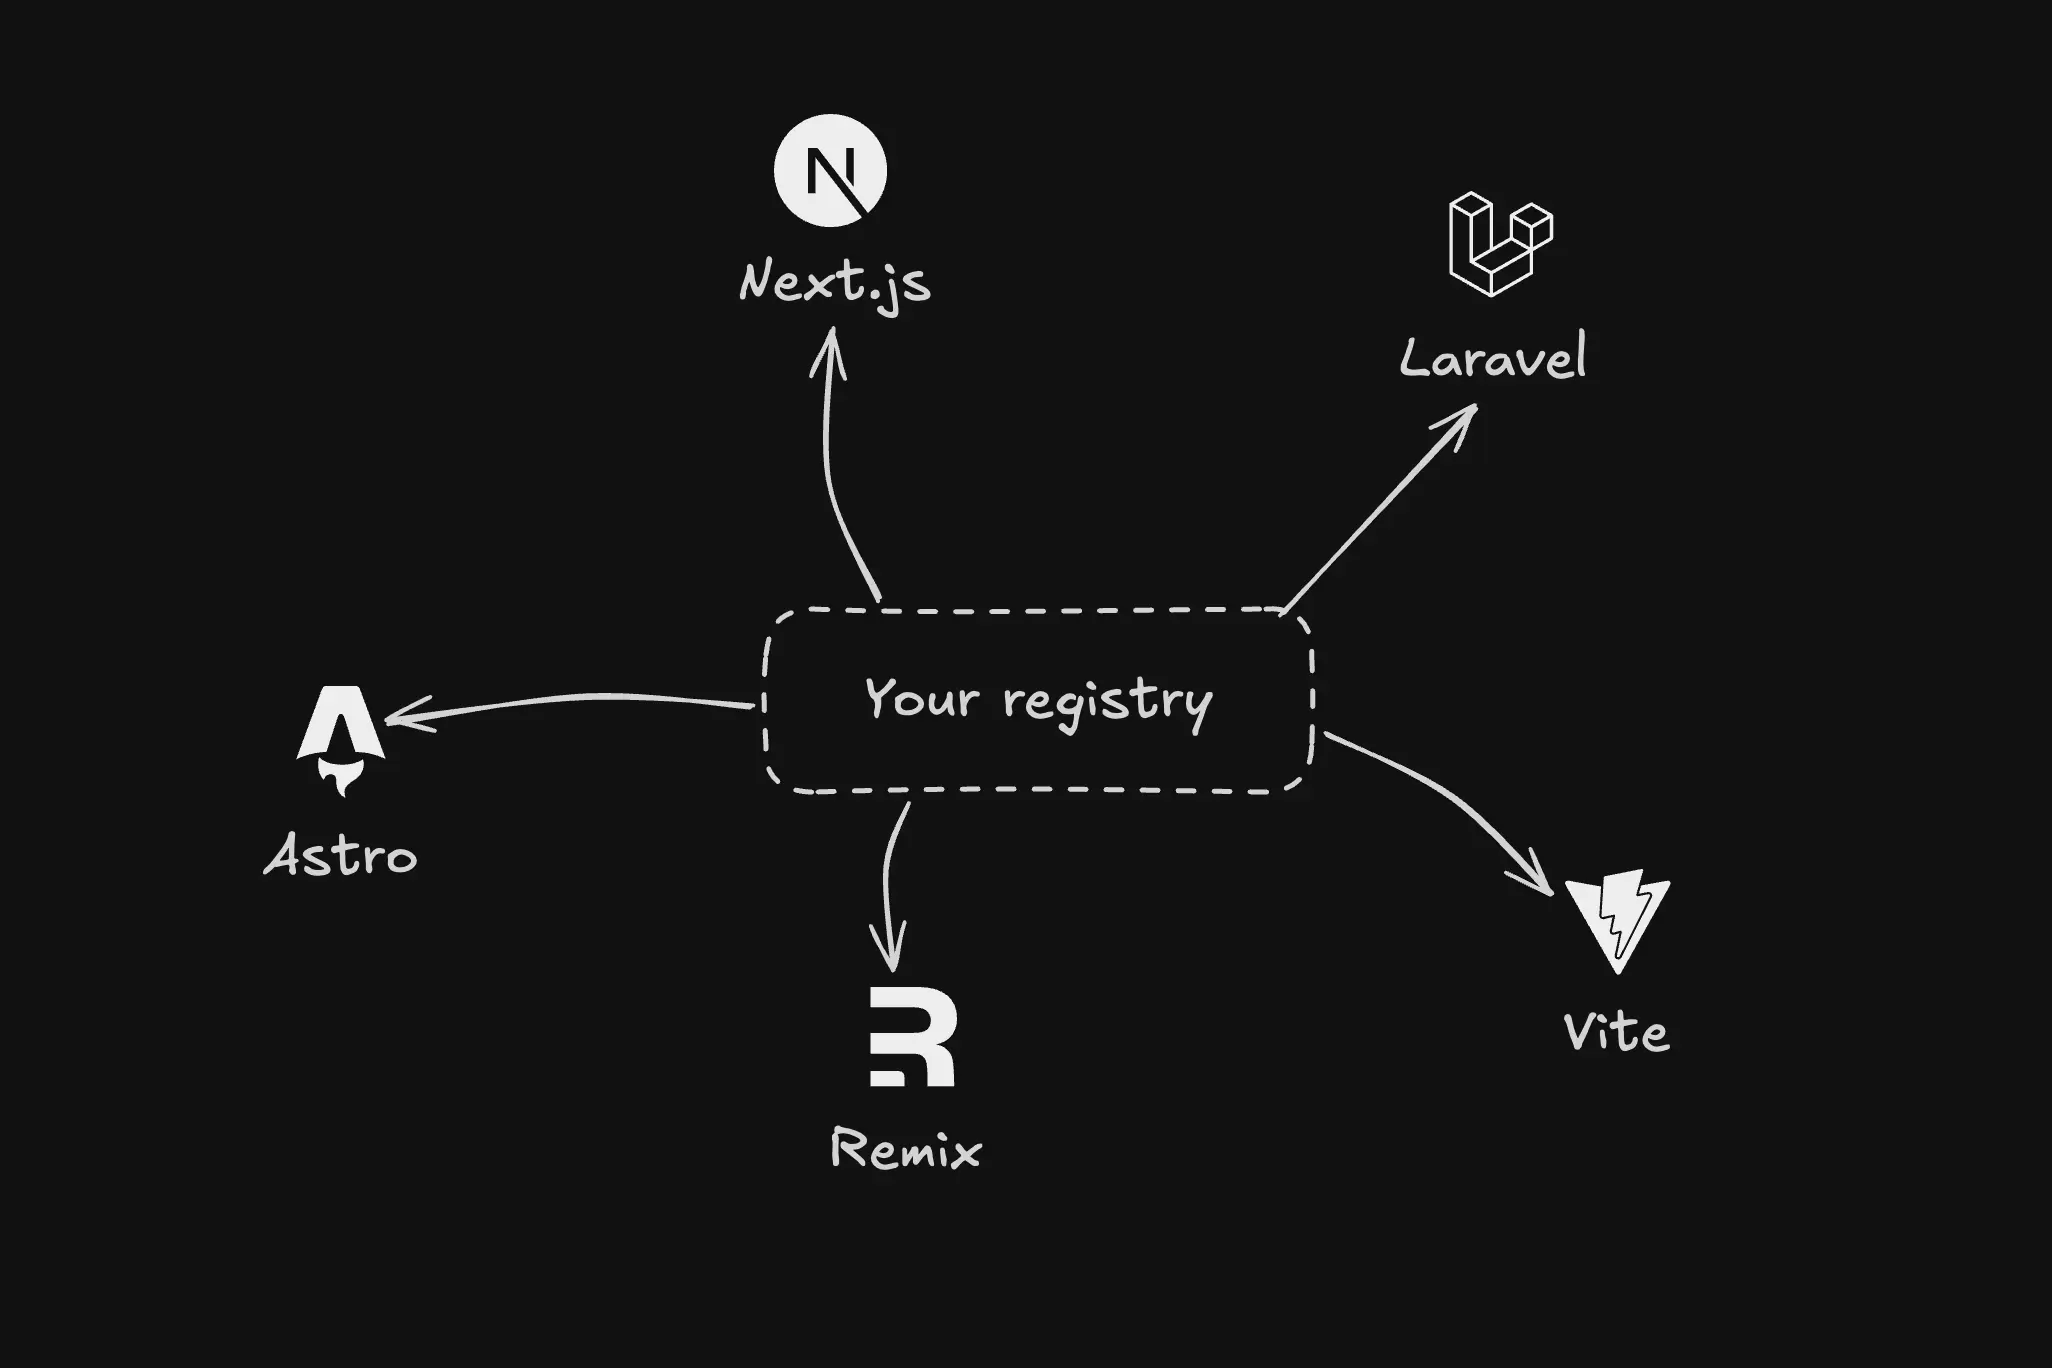
The shadcn registry allows you to manage and distribute reusable UI components across multiple projects without relying on a traditional npm package. Instead, you use the shadcn CLI to pull components directly into your codebase, giving you full control over customization and updates.
When setting up a registry, you define a structured collection of components, hooks, and other files that can be installed into different projects. The CLI handles fetching these components and placing them in the correct directories. Unlike manually copying components between projects, the registry offers a more efficient way to maintain consistency while allowing flexibility for customization, making it especially useful for teams or individuals working across multiple projects.

General notes on shadcn registry
registry-item.json
The
registry-item.jsonschema is used to define your custom registry items.You can see the JSON Schema for
registry-item.jsonhere.registryDependencies: As mentioned in this documentation section, you can specify dependencies for your component, page, or hook. If it’s a shadcn/ui registry item, refer to it by name (e.g.,
button,select,input). For items from other registries, use the full URL (e.g.,https://hookcn.ouassim.tech/r/use-boolean).devDependencies: You can also specify development dependencies if needed.
files: You can list multiple files in the
filesproperty. This is useful for pages that may have multiple components, utilities, or hooks.{ "$schema": "https://ui.shadcn.com/schema/registry-item.json", "name": "hello-world", "title": "Hello World", "type": "registry:block", "description": "A complex hello world component", "files": [ { "path": "registry/hello-world/page.tsx", "type": "registry:page", "target": "app/hello/page.tsx" }, { "path": "registry/hello-world/components/hello-world.tsx", "type": "registry:component" }, { "path": "registry/hello-world/components/formatted-message.tsx", "type": "registry:component" }, { "path": "registry/hello-world/hooks/use-hello.ts", "type": "registry:hook" }, { "path": "registry/hello-world/lib/format-date.ts", "type": "registry:utils" }, { "path": "registry/hello-world/hello.config.ts", "type": "registry:file", "target": "~/hello.config.ts" } ] }
tailwind.config.ts
If you’re placing registry components in a custom directory, update
tailwind.config.tsto include that directory.export default { content: ["./registry/**/*.{js,ts,jsx,tsx}"] }
build command
Once you’ve added the build script to your
package.json, runningbun run buildwill, by default, search forregistry.json, which contains the list of your registry items.If you want to specify a custom path instead of using the default
registry.json, pass it as an argument:Terminal window
bun run build /registry/registry.jsonOutput files for each component are generated in
public/rby default. To change the output directory, use the--outputoption:Terminal window
bun run build --output /public/r/hooksMore details on the build command can be found in the shadcn build command docs.
Imports
Always use the @/registry path for imports:
import { HelloWorld } from "@/registry/hello-world/hello-world"
Publish your registry
- To make your registry available to other developers, you can publish it by deploying your project to a public URL.
next.config.ts
When serving your registry components, your URLs will likely follow this pattern:
https://[DOMAIN_NAME]/r/[NAME].jsonTypically, you place registry item JSON files in the
publicdirectory, but instead of referencing full paths, you can simplify things using Next.js redirects. Here’s an example from my hookcn project:const nextConfig: NextConfig = { /* config options here */ async redirects() { return [ { source: "/r/:name((?!index\\.json|hooks/).*)", destination: "/r/hooks/:name.json", permanent: true, missing: [ { type: "query", key: "_redirected", value: undefined, }, ], }, ] }, }This redirect ensures that any request starting with
/r/[NAME]automatically points to its corresponding path inside the public directory.
Example repositories using the shadcn registry
Exploring real-world examples is the best way to see the shadcn registry in action. Here are some open-source projects that use it:
Conclusion
Although the shadcn registry is still an experimental feature, it’s definitely worth using if you need a shared component registry across multiple projects plus, shadcn is just awesome.
Peace ✌️.